Altenew, Beginning cardmaking, Card making, how to, inspiration, Stamping

Altenew Inspiration challenge April 2024

Hi, Hello and Welcome,

Here is the card I made for this months inspiration challenge. I enjoyed using unusual colours in this card.

Here is the link if you would like to play along too. Although you’ll have to be quick as I have left it late.

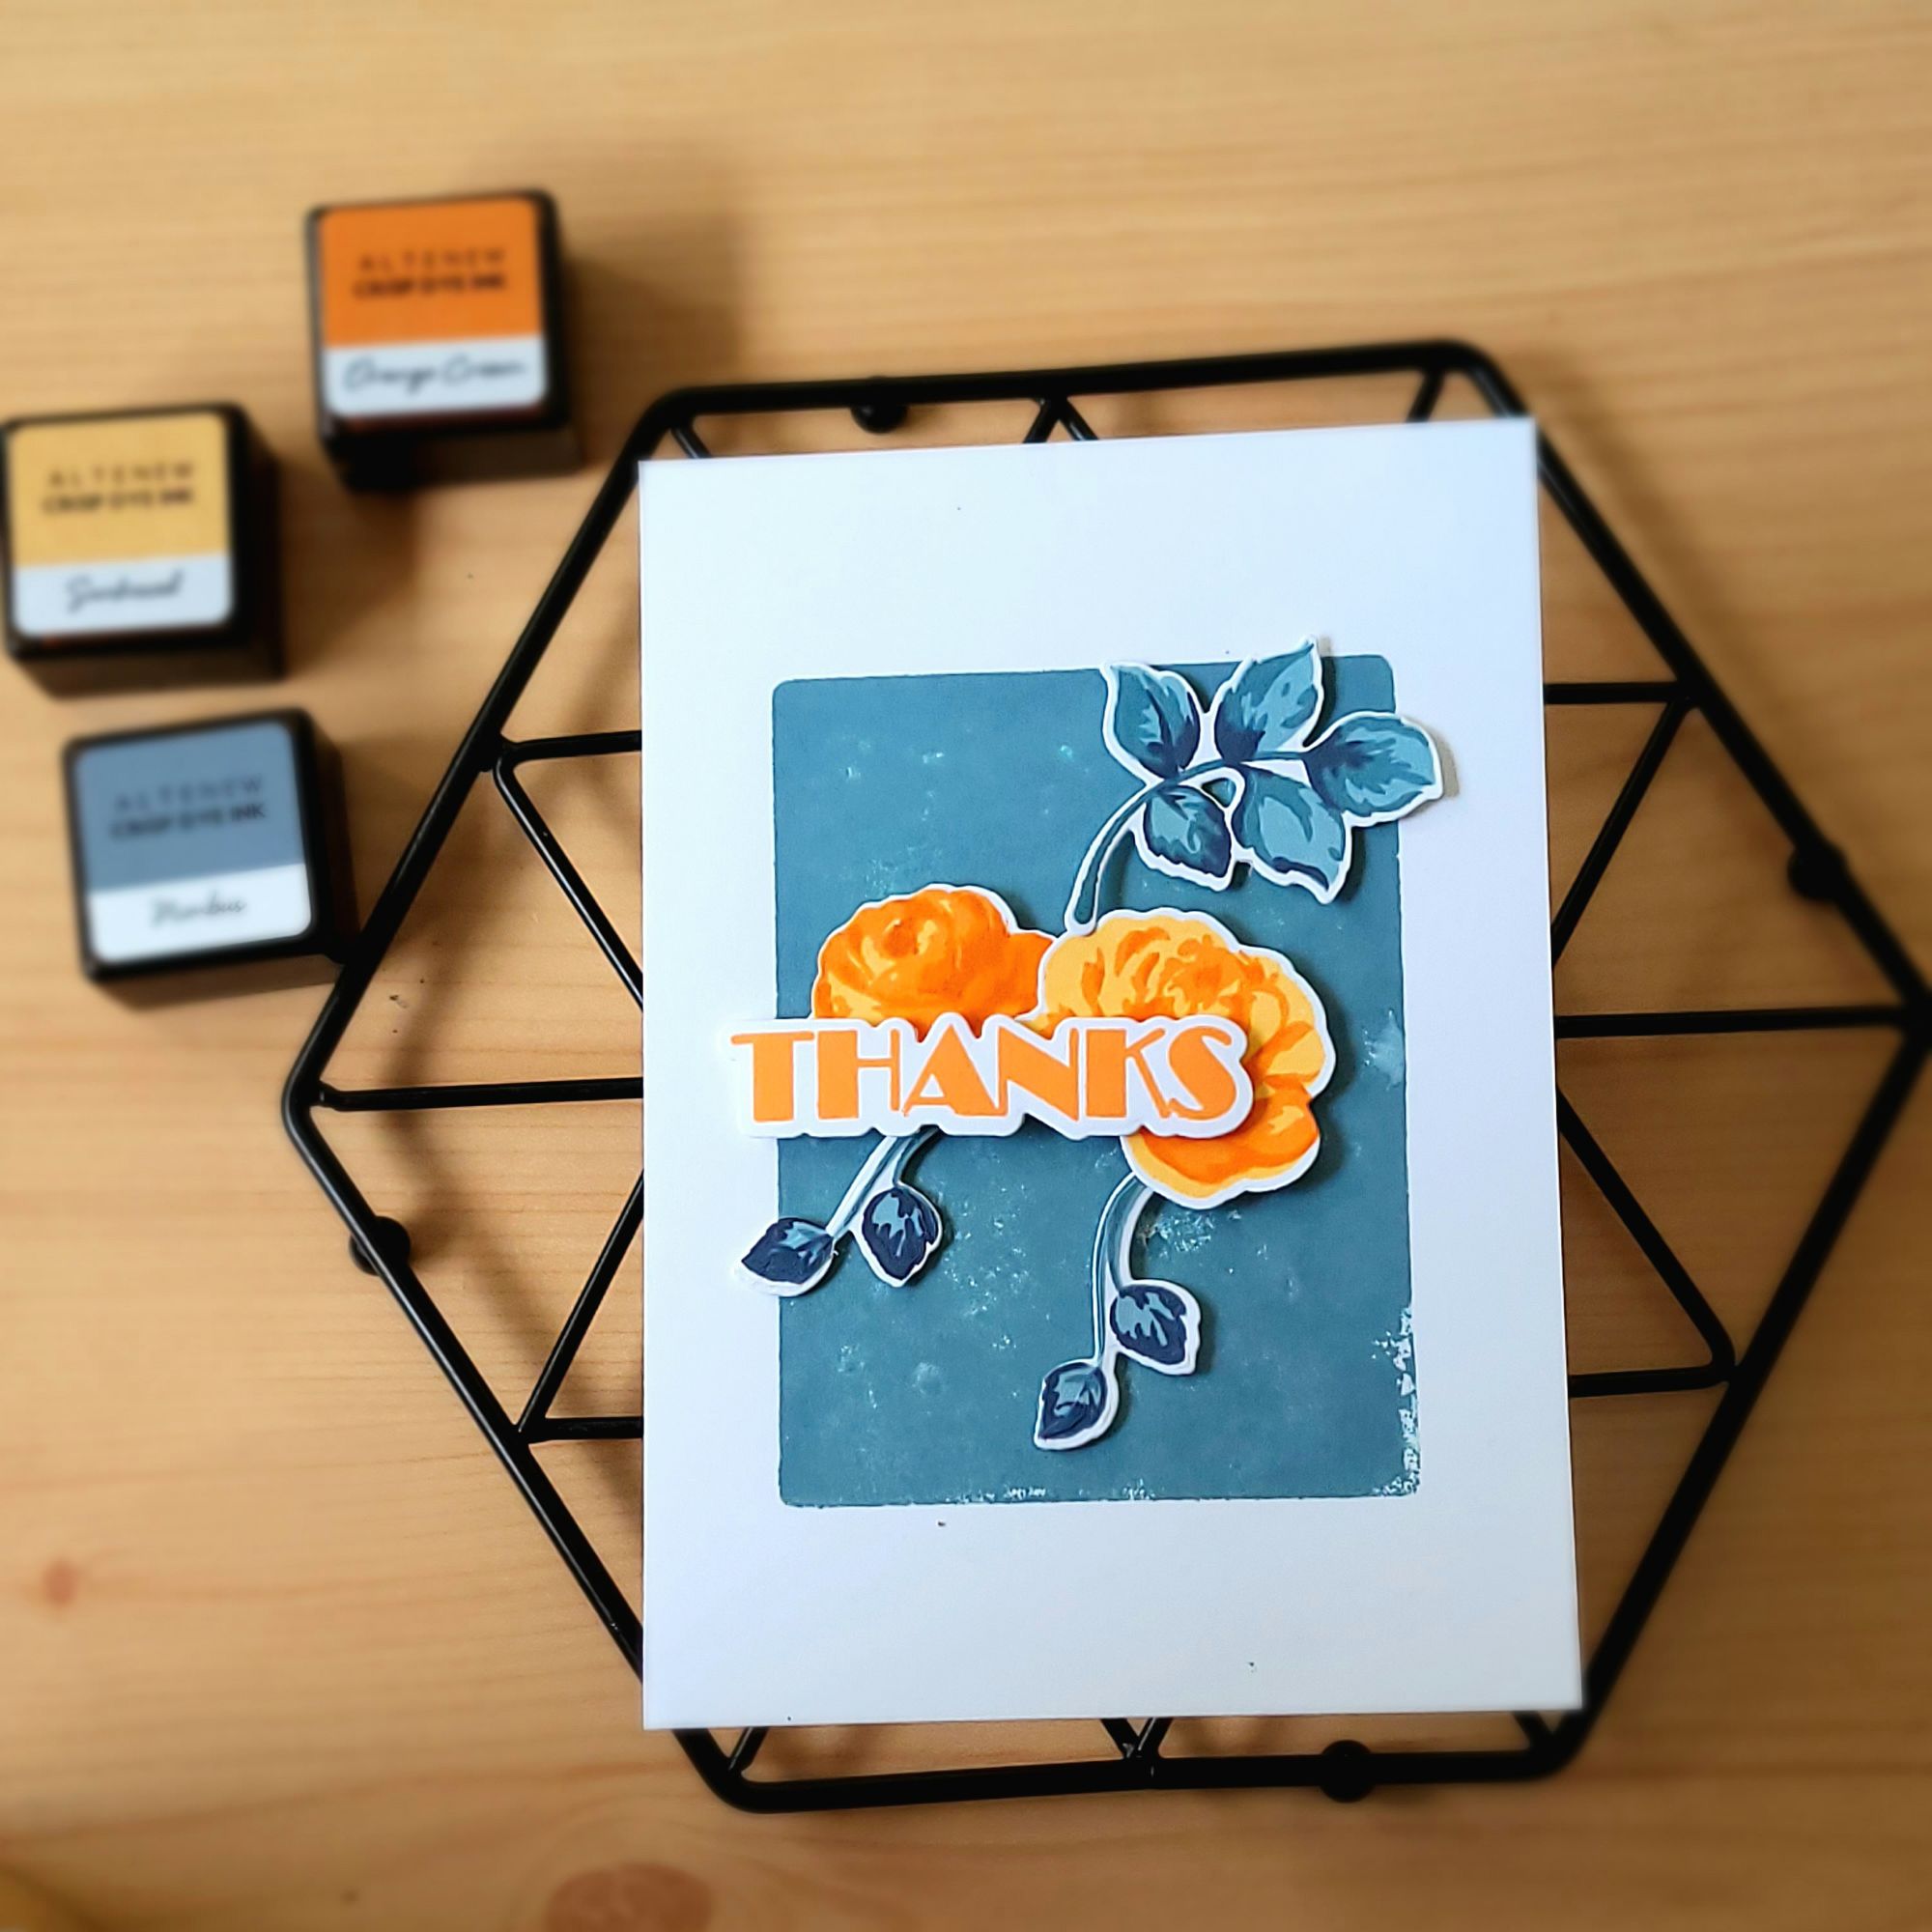
I started by stamping the roses and leaves from vintage rose stamp set and vintage rose add on set, and cutting them out with the coordinating dies. I used the colours sunkissed, orange cream and autumn blaze for the roses and cloudy sky, nimbus and dark night for the leaves.

My tip for lining up stamped images with the die is to cut the die from scrap card first. I then put the card without the die cut over the top so I can see my image through the aperture put the die in place over this hole and put the whole thing through my die cutting machine.

I then stamped and cut out the Thanks sentiment from the mini delight pattern power stamp and die set using orange cream ink.

I used the mini techniques stamp and nimbus ink to stamp the background.

I then popped all the components up with foam tape.

I hope you liked my card today.

Affiliate links are used in this post and I make a small profit if you use this link at no cost to yourself.

Stay safe and keep it crafty.

Altenew, beginners, Beginning cardmaking, Birthday cards, Card making, Christmas., Craft, DIY cards, how to, inspiration, Stamping

Altenew Inspiration Challenge October 2023

Hi, Hello and Welcome,

Here is one of the cards I made for this months inspiration challenge.

Here is the link if you would like to play along too.

I started by stamping the large flower from watercolor wonders onto watercolor card stock using the colors cotton candy, orange cream and ruby red. I used water to blend the colour between each layer to give more of a watercolor look and let it dry between each layer.

I used the sentiment Happy Birthday from the craft your life project kit – bewitching rose. Stamping it onto a scrap of card before cutting into a banner and then inking the edges with walnut stain distress ink.

To get a wood effect background like the inspiration picture I used an old wood embossing folder from crafters companion. I inked the embossing folder with the walnut stain distress ink before running it through my cuttle bug.

My second card is very similar, but I have used the poinsettia stamp from poinsettia and berries stamp set. I have decided it’s time to start making some cards ready for Christmas. I am sorry if it is too early for you, but I have a lot to make. I used the same three colours of ink and stamped the outline with grapevine ink.

The sentiment is from Pine tree mini stamp set.

The background uses the same embossing folder and ink as the first card.

With my third card I used this same technique but sprayed the watercolor card with water first before embossing it and it gave this different effect.

I used the same colours of ink as the first two cards, but did the layers with the pink and red ink and stamped the center with the orange.

The sentiment is the same as the last card and is stamped with ruby red ink instead of the cotton candy ink.

I hope you liked my cards today.

Affiliate links are used in this post and I make a small profit if you use this link at no cost to yourself.

Stay safe and keep it crafty.

Altenew, beginners, Beginning cardmaking, Birthday cards, Card making, Craft, DIY cards, how to, inspiration, Stamping, tips

AECP – Altenew Academy – In the mood for color.

Hi, Hello and Welcome.

Today I have two cards to share that I made for the altenew academy class in the mood for color, that I am doing towards my level 2 Altenew Educator Certification program. You can find more information on this program here and I would highly recommend it.

In the mood for color class looks at the moods colours evoke. This first card was inspired by lesson five – Pink – Sensitive, Caring, Sweet.

I switched up the butterflies in this class for cupcakes, which also evokes the mood sweet. I used the mini stamp and die set cupcake and stamped the cupcakes with the rose petal ink set and for the sponge part of the cake I used caramel toffee ink. I also stamped the sentiment from halftone happy stamp set with caramel toffee.

I then used the matching alcohol artist markers to colour in some pearls to add something extra to the card to finish off.

For my second card I was inspired by the class – blue – calm and tranquil but, used the techniques from the third class green – soothing, growth, natural.

I used watercolor wonders and watercolor extravaganza stamp sets to stamp the flowers using distress inks. I stamped a layer onto watercolour card stock and then used water to paint it and give it a watercolour look. I then let it dry in between each layer.

I used salty ocean for the first layer then used this colour again to stamp the second layer, but stamped it a few times inking up each time to make the colour darker. The third layer I used hickory smoke ink and for the center of the flowers I used blueprint sketch ink. I also stamped the sentiment which was from craft your life project kit bewitching rose set.

I hope you liked my cards today.

Affiliate links are used in this post and I make a small profit if you use this link at no cost to yourself.

Stay safe and keep it crafty.